Realizing the house thing came up and I never told ya’ll about my cooking class while in Vietnam!
My class was called Siagon Cooking Class, and it took place in the upper level of a restaurant called Hoa Tuc. I didn’t try a meal in the restaurant but the food we made in the class was really great. The class consisted of making 3 courses: Fried Siagon Spring Rolls, Water Spinach w/ s=Shrimp and Kumquat Dressing Salad, and for the main course, Stewed Ginger Chicken in a Claypot.
I was so excited for this class. The first part of my work trip could not go fast enough. The class lived up to my expectations and I had a great time! It was just a great way to spend my day off in Vietnam.

The class was offered with the option of starting later in the morning at the restaurant or starting early and shopping with the instructors at the local market.
Of course I went with the instructor to the market!
I love markets in Asia. Fresh produce is abundant and looks crazy good. I wanted to buy so much stuff, but with no where to cook it, I just window shopped. Or should I say table shopped.

And there were some interesting stands. A woman sat peeling a GIANT Jackfruit. I really am not a fan of Jackfruit, but The Boy’s family really likes it.
I passed on buying some.

Our instructor walked us through the market showing us different items, and buying fresh herbs and veggies for our class. All the meat was provided by the restaurant, to ensure freshness.
Here is our instructor talking about the difference in peppers. {sorry for the blur}
He was not at all intense like this photo might suggest. Just being a poser for the camera.

Then there were the booths you are sure not to see at your local farmers market here in MN.
Fresh hearts, livers, intestines, or stomachs anyone??

And then the ones the instructor had to explain….
Would you guess these are chicken embryos? Yup, not the yolk from an egg. The true embryo from inside the chicken.
Not sure I ever want someone to tell me if this is in my food.

After the market we were off to start our class.
I am going to walk you through the first dish we made. Lets be honest, everyone wants to have fresh fried spring rolls at home.
I know I always do. YUM!
My class had 11 people: a couple from Japan, a girl from the Philippines, a father and daughter from Australia, a British guy living in Vietnam for work, and 2 Irish couples from Australia. The Irish Aussies were my company through the whole class. They just cracked me up the whole time.
I loved their accents. ::Swoon::

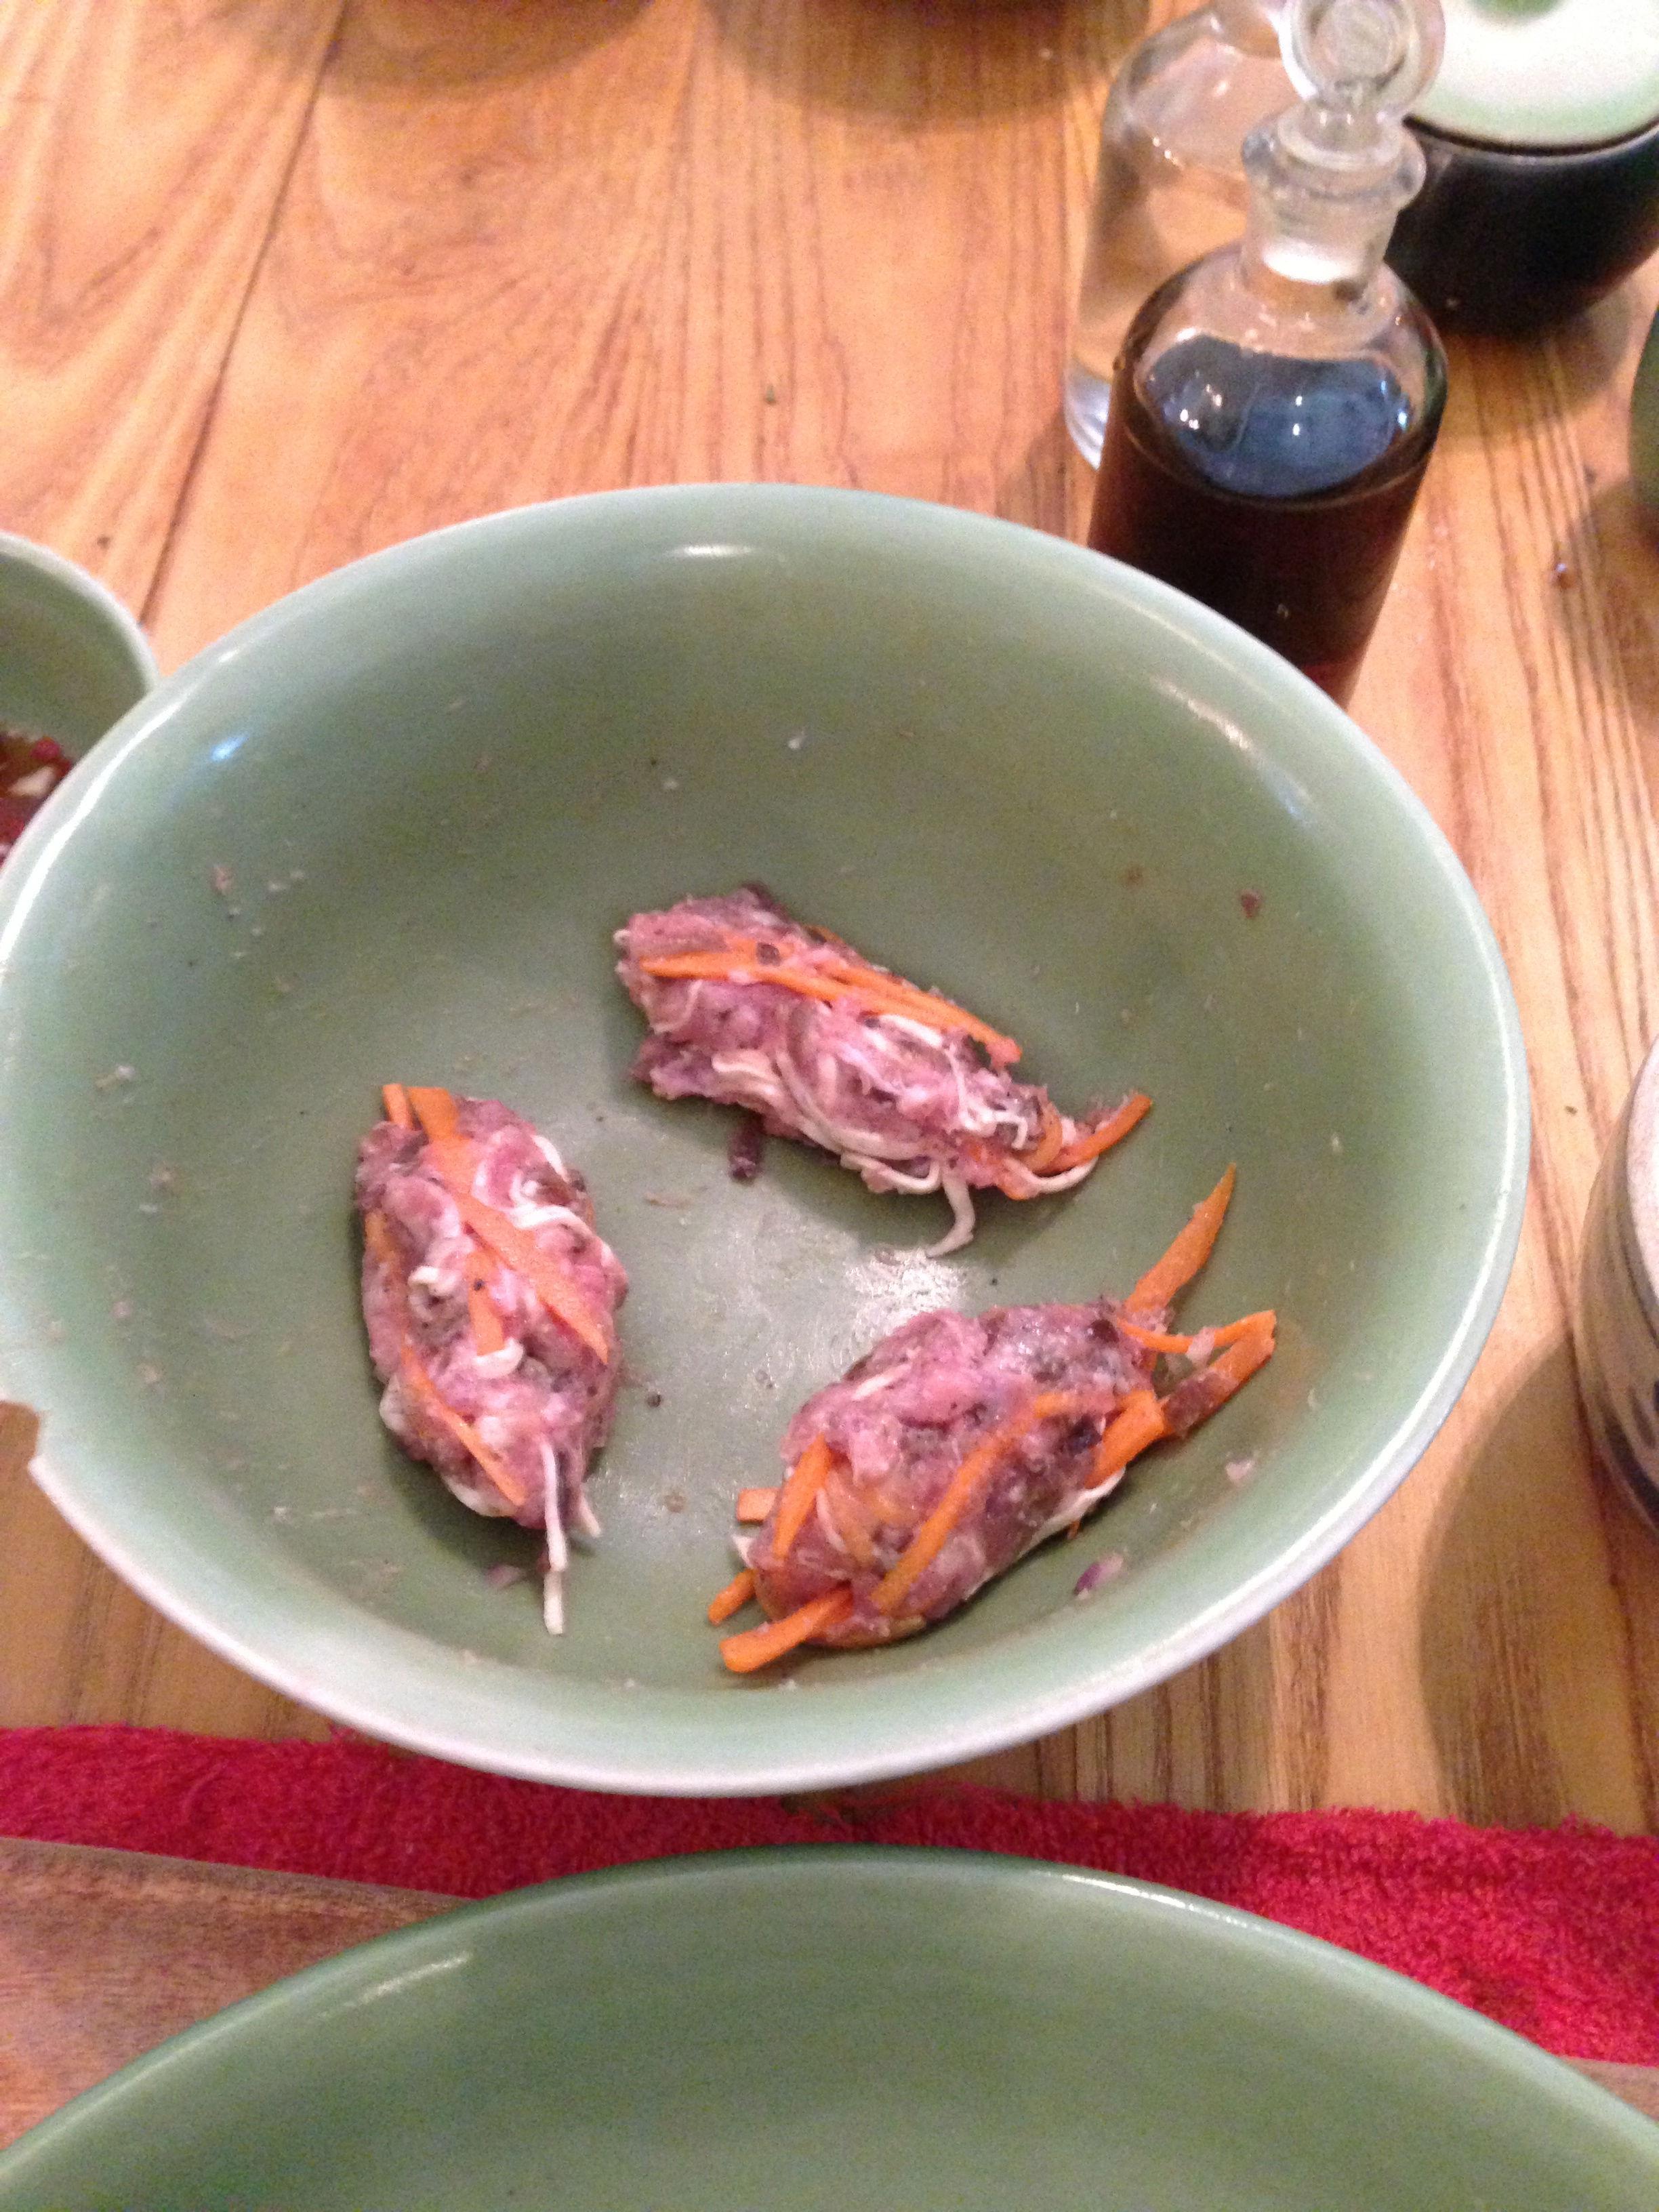
The first of our ingredients were portioned out for us in a bowl already. Taro, a root vegetable, much like a potato, carrot, wood ear fungus, and ground pork. This amount made 3 spring rolls.
3 spring rolls I got to eat all on my own! Muahahahaha! {that is my evil laugh- can’t you hear it?}

Next was the chopping the fungus and julienning the taro and carrot to make everything look pretty. Season with some fish sauce and white pepper. And then mixing it all up with our fingers, wearing gloves of course, and dividing into 3.
Easy peasy!
Rolling the spring rolls was probably the hardest part of the whole process, because the wrappers are so delicate. In the class we used dried wrappers and added water. I have made similar rolls at home before, but I buy the frozen wrappers and thaw them. They are more pliable and give more leniency when wrapping the filling.
Place the filling on the wrapper, fold over the bottom to cover the filling, then fold the sides up. Roll up, and use water to seal the end to the roll.

Look at my pre-grease bath rolls! Almost uniform. The first roll was hard to get the hang of with the stiff wrappers, but the other two don’t look so bad.

We moved outside to the deck to deep fry our rolls. I would highly recommend this to anyone making these. Go out into your garage, or on your deck to fry these. Never in your house. Your clothes in the closet UPSTAIRS will stink for a week if you attempt this in your house. No joke.
Exactly what our instructor is telling us here. Never in your house.

Oil bath here come my rolls!

Once they were golden brown and floating we were ready to take them out. Specific instructions were to not touch them while in the oil. If they stuck together and we tried to pull them apart while they were in the oil, we would have had a roll explosion and someone missing their 3rd roll.
We wouldn’t want that now would we? I would have been devastated if it happened to me.

TIME TO EAT!
I had never eaten fried spring rolls this way, but rolled up with lettuce mint and Thai basil= yummo!

After sharing this recipe, I really want to go make these at home.
Do you think The Boy and I could eat 30 rolls alone? Probably shouldn’t try….
Maybe I will invite some friends over to get my selfish fix….. Do you want to be one of those guests???
Fried Pork Spring Rolls
recipe from Siagon Cooking School
yield 30 rolls
- *Spring Roll Wrappers ( I buy this brand in the freezer section: TYJ Spring Roll Pastry, 8″ size)
- Vegetable Oil for Frying
Filling:
- 1 1/2 lb lean ground pork
- 4 tablespoons shallots, minced (6 shallots)
- *1/2 cup dried black fungus or wood ear fungus, minced (rehydrated in water for 20 minutes- I buy the already julienne variety)
- *1/2 cup taro, peeled and finely julienned
- 1/2 cup carrots, finely julienned (1 large carrot)
- 1 teaspoon ground white or black pepper
- *2 tablespoons fish sauce
- In a large bowl, mix together all ingredients really well with your hands. You can wear gloves or wash your hands really well afterward.
- To make rolls, start with 1 wrapper on a clean flat surface- a plate works well for this step. Place 2 tablespoons of filling 2 inches from the bottom of the wrapper, fold over bottom, and pull filling in tight. Fold over right and left flaps of the wrapper, tight to filling, creating a long rectangle. Wet top of wrapper, and roll up to top and seal with more water at seam. Set aside under a damp paper towel, and continue rolling until all filling is used.
- Preheat oil to 350 degrees in a deep fryer, large pot, or deep electric skillet. Place 4-5 rolls in hot oil at a time. Make sure to not over load the pan, you don’t want the rolls to touch and stick together. Cook for 5 minutes, or until floating and golden brown. Remove with a metal slotted spoon once fully cooked. Place on paper towels to absorb excess grease.
- Serve immediately. Rolls can be frozen precooked and removed and fried when desired.
*these ingredients can be found at your local Asian food market, not normally at your local grocery store.
Comments
One response to “Cooking Class in Vietnam- Fried Pork Spring Rolls”
[…] Maybe along with a homemade Shrimp and Pea Pods Stir Fry or with another appetizer like Pork Eggrolls. I even had to double the batch to feed 4 of […]