Day 3 of Christmas with My Urban Oven, and today I bring your a Christmas present idea for your fur baby!
Dewey has multiple beds around our house to keep him off of the furniture. Well that is at least what The Hubby thinks. I like to snuggle up with my fur baby, so he is normally curled up next to me where ever I am sitting.
Dog beds are crazy priced really. The range from super luxury to more basic. I have looked for deals on beds before and found them at places like Costco and Mendards, but that can be hit or miss. I found this idea to make a bed for Dewey and he loved it.
This Christmas Bed is actually his second one. He really loved his first one {Long story as to why he no longer has it. Let’s just say a tummy issue caused The Hubby to throw it out, rather than wash it}. He has a thing for soft things, which is why I originally made this for him.
He was in need of a new bed for Christmas so I took full advantage of a deal and some coupons at JoAnn fabric. Note: you can almost always find a coupon on their website for 30-50% off a single cut of fabric. And you can combine the website coupons with flyers you get in the mail or the news paper. I heart JoAnn fabric so much!
I was able to get the fabric for this bed for 75% off on Black Friday, which worked out to $3.25 per yard. Yup, I made this bed for $3.25. Even if you made this with a 50% off coupon you could get the materials for less than $7! Now that is a great deal compared to the crazy prices you will find for a dog bed other places.
Now let’s get to how to make this bed for your fur baby for Christmas this year.
Supplies you will need:
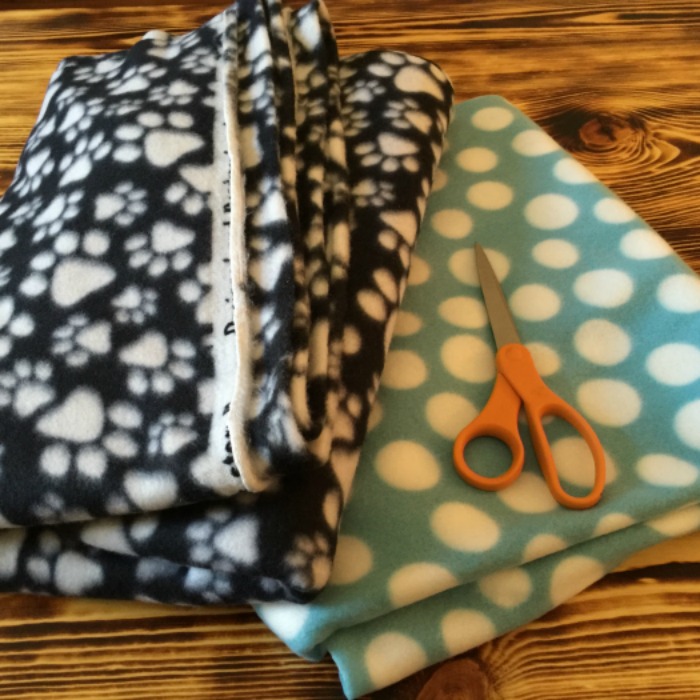
- 1 yard of Fleece Fabric for a large dog bed, you can buy 1/2 yd for each side in different colors.
- You could make a smaller bed the same way by folding a 1/2 yard in half {hamburger style} and cutting into 2 pieces, one for each the top and bottom.
- Scissors (fabric scissors work best)
- Measuring tape or ruler
- Old pet bad, new pet bed, old pillows, or old clothes
The process of making this pet bed is very much liking a fleece tie blanket. I guess not very much, exactly like making a fleece blanket.

Start by laying out your 2- 1/2 yard sections of fabric and square them up to be even all the way around. Cutting off any extra fabric. You don’t need to be precise as the knots will hide any variation. I didn’t even cut of the salvage edge that had writing on it {see above photo}. Since this was a dog bed, it doesn’t need to be perfect. My dog isn’t going to care what the ties look like.
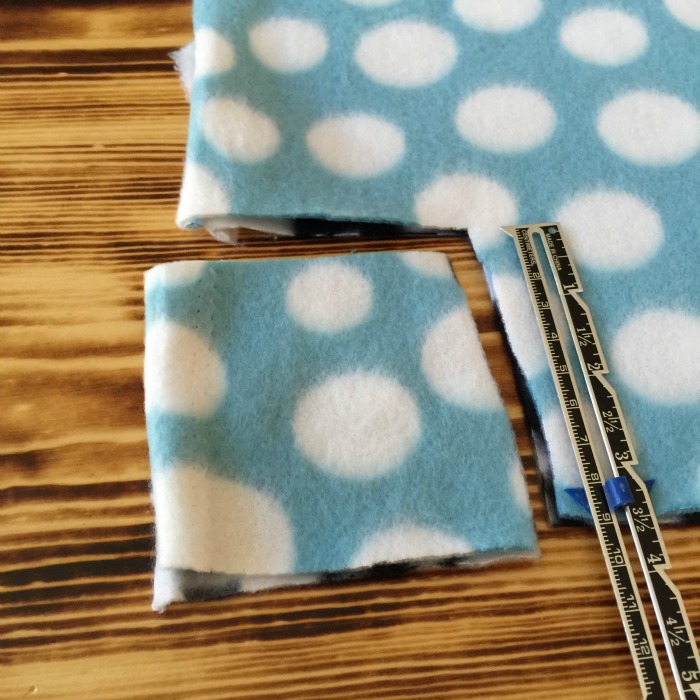
Once squared up, you will need to cut out the corner notches. This will allow for a clean square corner. I cut out a 3 1/2″ squares. I wanted the ties to be smaller for the bed, but you could cut up to 4″ ties, if you want it to have a more “fringe” look.
Finally, next you will want to make 3 1/2″ (or 4″- depending on your original square) cuts through both pieces of fabric every 1 to 1 1/2″, on four sides of the fabric. You will want to do this on a large flat work space, so your fabric stays aligned and doesn’t move. You want your cuts to be in the exact same spot on each piece of fabric. This is also why a fabric scissors comes in handy, they cut the best through 2 layers of fabric.
Finally, start at one corner and work your way around 3 sides of the bed double knotting the cuts you made. You will want to leave one of the small sides open to add filling. I do not recommend you use batting or poly fill because many dogs love to destroy anything with filling. You have a few options to fill the dog bed. The first two are easy, place an old or new dog bed inside. The second is also fairly easy, place old pillows from your bed inside, which is my second favorite option. The last option is to use old clothes that you planned to throw out inside. Any clothes work for this. I love the clothing and old pillow options because they will carry the scent of your or your family. This will make your dog feel more secure and at home on the bed. I think we all have had our dog lay on a pile of our clothes before, right? This is the same concept. They like to feel close to their owner. As well as being a “cheap” fill option. And from a cleaning aspect, using clothes makes washing the bed super easy. You can just untie one side of the bed, throw the contents and the bed liner into the wash, and then reassemble once clean. There is no need to throw out a dirty doggy bed again!
{Dewey was very interest while I was making the bed. He had to place his head on the fabric to test out the softness}
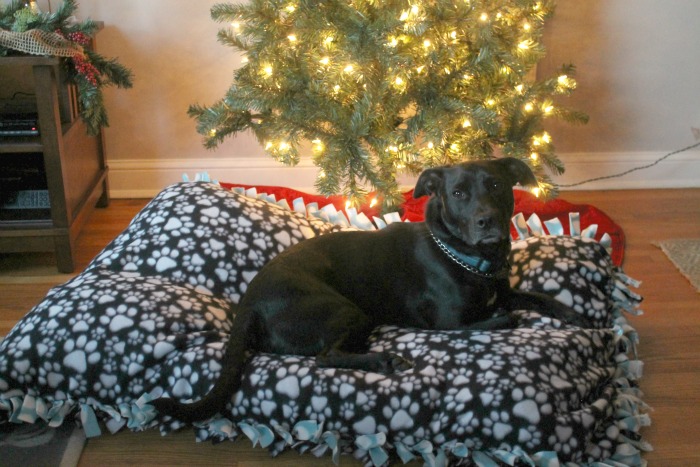
And there you have it, a nice new bed for your fur baby this Christmas.
Isn’t he such a handsome dog! He barely ever sits still for a photo. I think he really liked his new bed so much that there was no reason to move while taking a photo. Or he was so annoyed that I made him to get out of his other bed in our room so early in the morning to come sit on this one. Either way, he took a good photo.
I really don’t think he will let me take his new bed away, so I guess it was an early Christmas present.
Did you all notice my decoration free Christmas Tree in the background? Yeah, our tree has been up for 5 days now, only with the lights on. It does look pretty just with the lights, but you can look forward to a Christmas Tree decorating post in the near future 😉
Stay tuned for more 25 Days of Christmas My Urban Oven Style!
Look back at the first few days:
Day 1: 25 Days of Christmas My Urban Oven Style
Day 2: Lactose Free Coconut Hot Cocoa with Coconut Whipped Cream
Day 3: A Doggy Bed for Christmas
XoXo-
Rachel
P.S. To keep yourself up to date on all things My Urban Oven, make sure you are following us on all our Social Media channels. There are new photos and posts all the time, but not always the same ones on each channel. Don’t miss out by not following along on each 🙂
Facebook- facebook.com/MyUrbanOven
Instagram- @MyUrbanOven
Twitter- @MyUrbanOven
*NEW* Periscope- @MyUrbanOven


Comments
8 responses to “A Doggy Bed for Christmas”
I have always had it on my todo list to make Baylee one. I do tie quilts all the time and most of them wouldn’t be much bigger than making her a bed. I really need to do this!
Yes- Baylee would love it for Christmas! I would love to see a photo when you do make one 🙂
[…] Day 3: A Doggy Bed for Christmas […]
[…] Day 3: A Doggy Bed for Christmas […]
[…] Day 3: A Doggy Bed for Christmas […]
[…] Day 3: A Doggy Bed for Christmas […]
[…] Day 3: A Doggy Bed for Christmas […]
[…] Day 3: A Doggy Bed for Christmas […]